|
MAKING OF THE WEST WINDOW
BY
TRACEY SHEPPARD GLASS ARTIST AND CREATOR OF OUR WINDOW |
|
|
STAGE
1 |
|
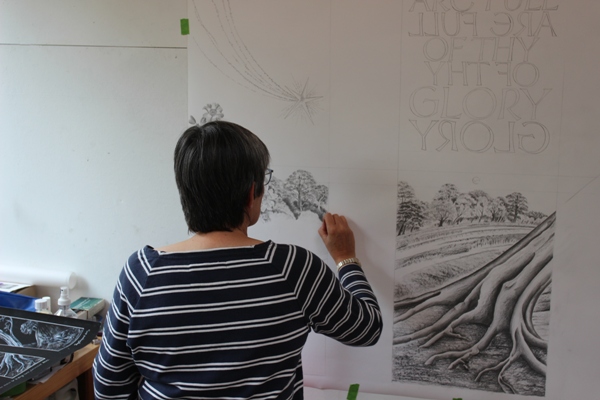 |
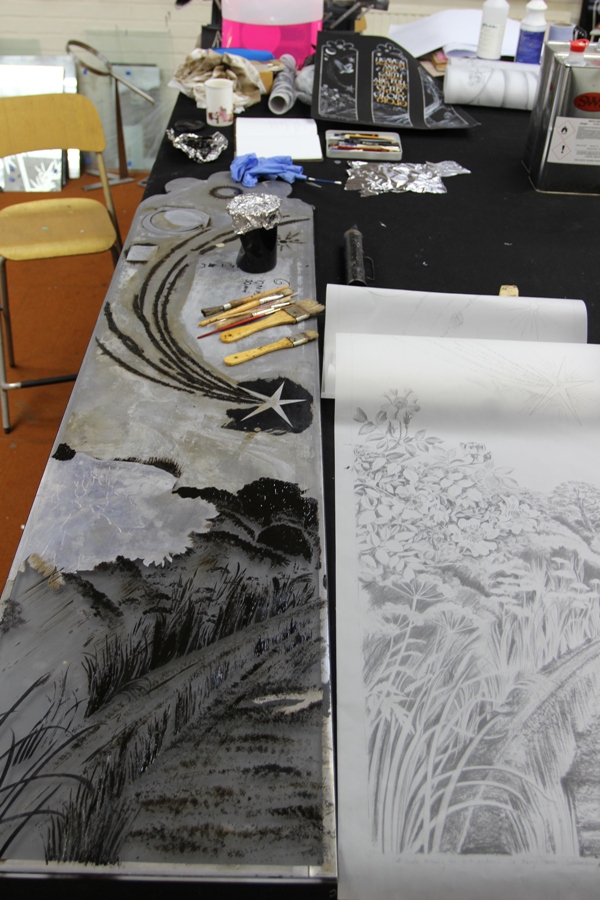
The drawing is
complete, and we have worked on a test panel, just to
clarify one or two technical things. We are currently
working through the first acid processes of some
elements of the design. So we really are making some
progress. It has been insufferably hot at the factory
this week- but on the up side it does mean that the acid
is working very efficiently!
These two images were taken just as I was getting to the
last complicated corner, and once the drawing was ready
to go. |
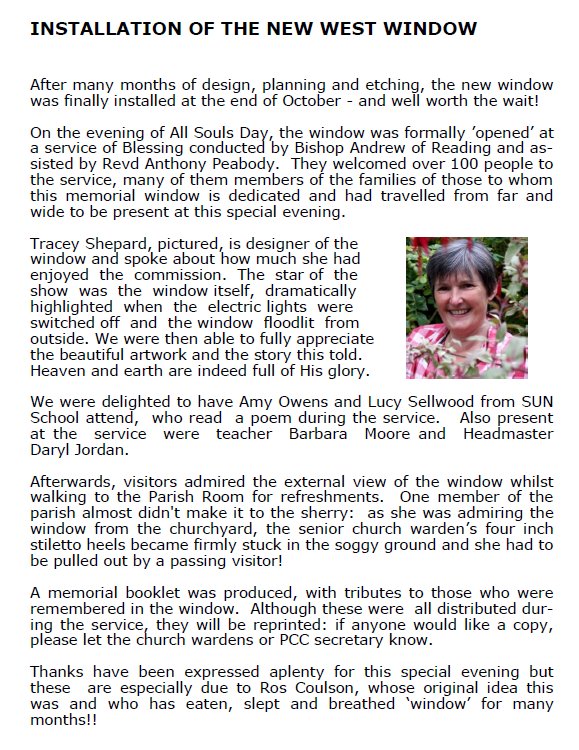
|
 |
|
STAGE
2 |
|
 |
The above
image introducing the Great Dave Blackwell!! Dave has
been working at Neros for 50 years next month. He has
been incredibly generous with his knowledge and
expertise and has taught me so much over the last 17
years and continues to be extremely patient with his
whacky student! He is a star, couldn’t do it without
him!! In this image he is rolling a thin coat of
embossing black onto the glass. This is the first step
in a technique called Black and Foil. Blacking coat
dries completely, is then covered in a thin layer of
beeswax which in turn is covered with a sheet of lead
foil. This can then be cut through and sections of the
glass exposed so that the acid can etch the surface.
More of that anon.
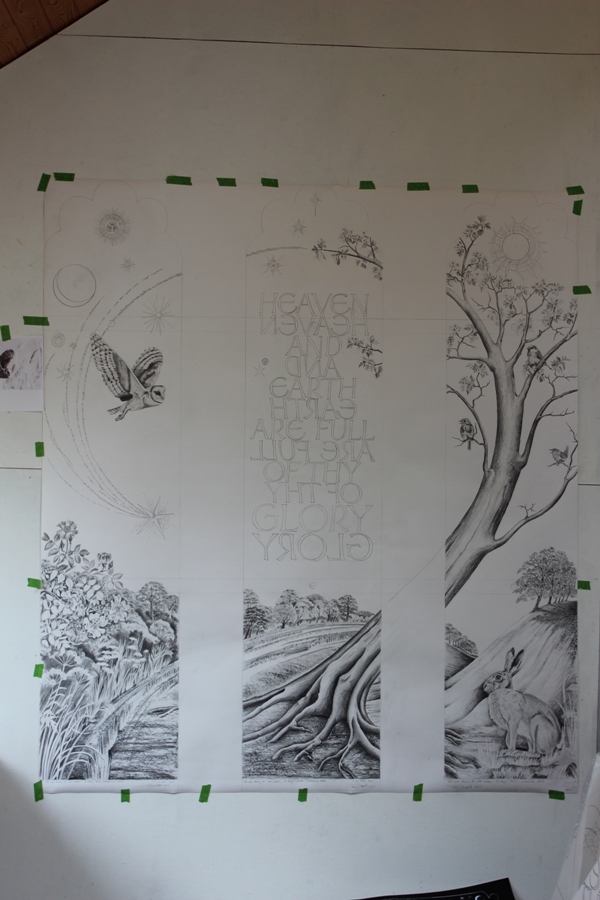
Below shows the drawing- now copied onto a heavy weight
tracing paper- laid out on two of the panes on top of
the lead foil ready for me to draw through and begin to
transfer the design. |
|
 |
|
STAGE
3 |
|
 |
My
un-manicured hand wielding a scalpel, carefully cutting
through the lead foil and lifting out a small section of
tree. Once this stage is complete the exposed beeswax
and blacking are carefully ‘cleared out’ (cleaned off)
to reveal the glass underneath so that the acid can do
it’s work.
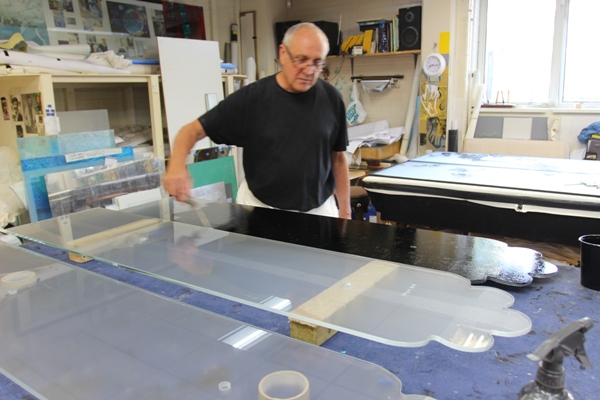
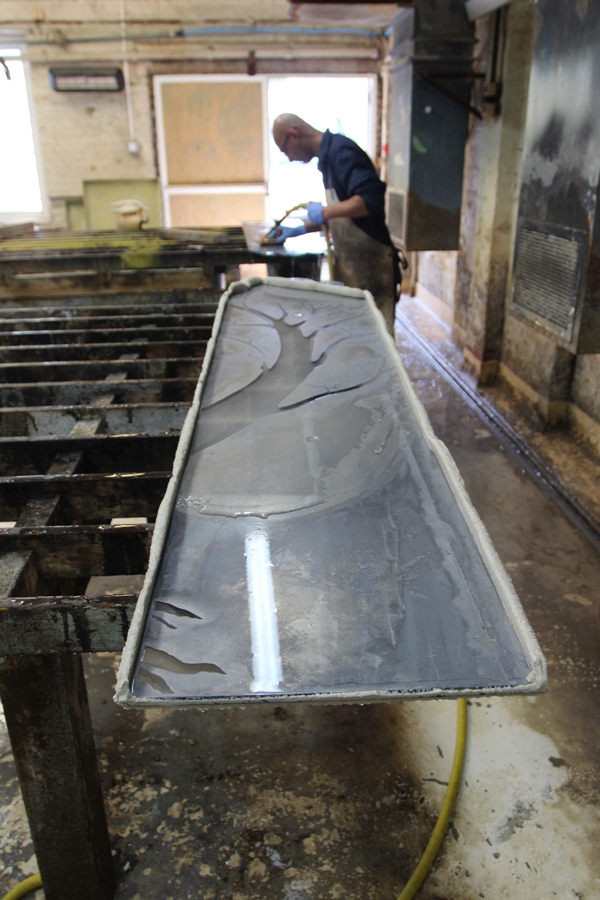
Below Meet Ray! Ray is the Acid Shop wizard. He is the
expert who deals with this fearful substance and makes
it do amazing things! He has to build a wall with a mix
of beeswax and tallow around the glass to retain the
acid. It is absolutely imperative that there are no pin
holes in this wall as any leak will attack the glass in
an area where it is not needed! You can see this in the
foreground. The magic Ray is in the process of rinsing
one of the panels in the back-ground. Between each stage
it is vital that no traces of acid remain. He is likely
to repeat these steps at least 5 times at the beginning
of this project as I build up textures and work
different sections. |
|
 |
|
STAGE
4 |
|
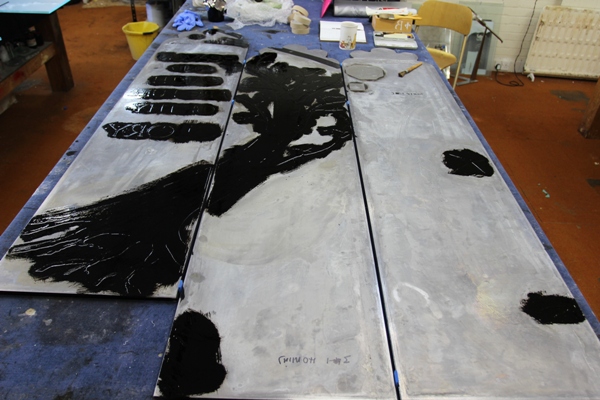 |
Here the tree
and the words are covered with embossing black. This is
drying and awaiting a coat of bees wax and a layer of
lead foil. These coatings protect the surfaces and
enable me to begin work on the landscape.
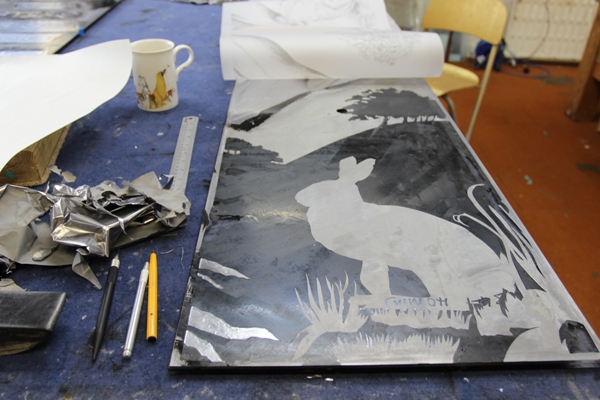
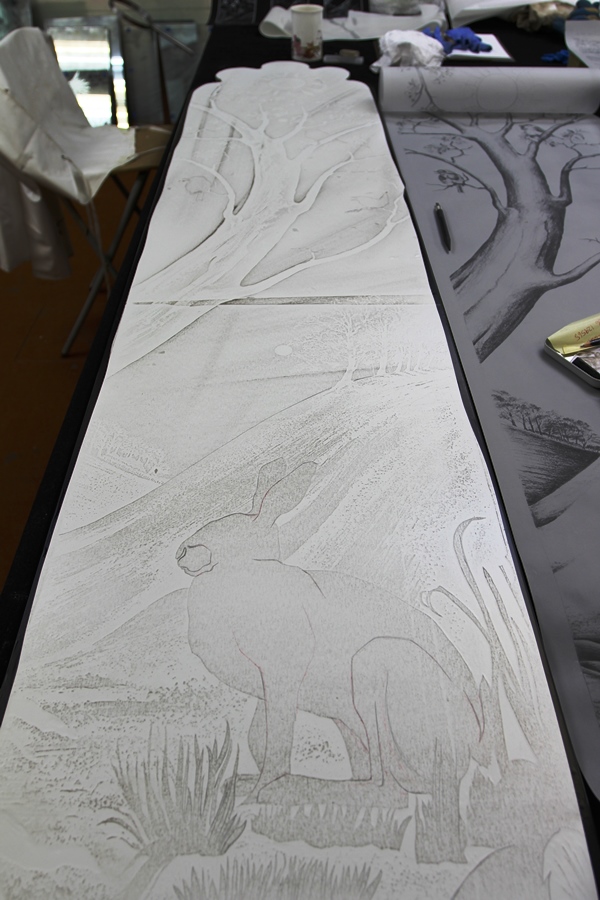
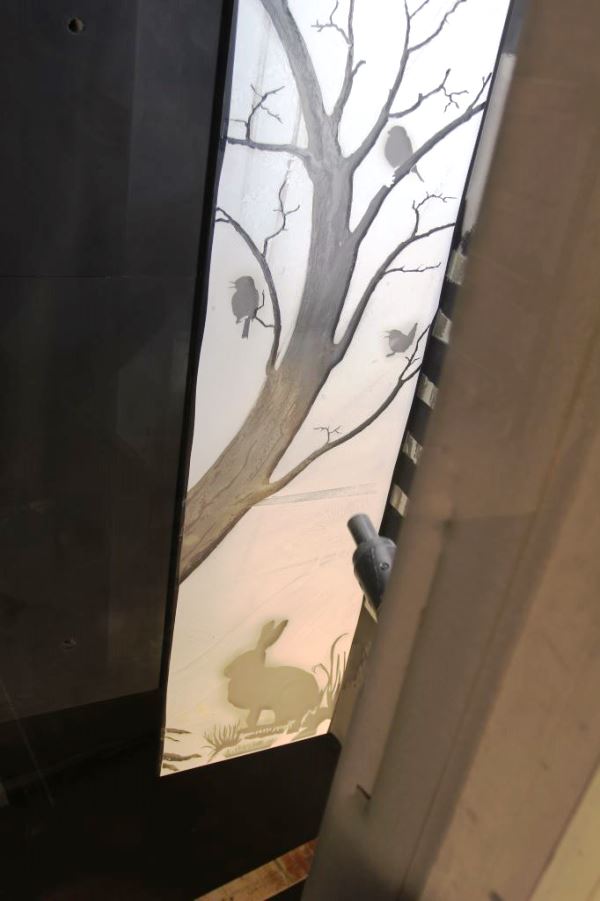
Below the hare and larger foreground grasses and the
tree roots remain under lead and the area of the glass
where the landscape will be revealed. The next step will
be to clear away the blacking from the glass where the
trees and fields will be gradually worked up with
painted resist and acid processes |
|
 |
|
STAGE
5 |
|
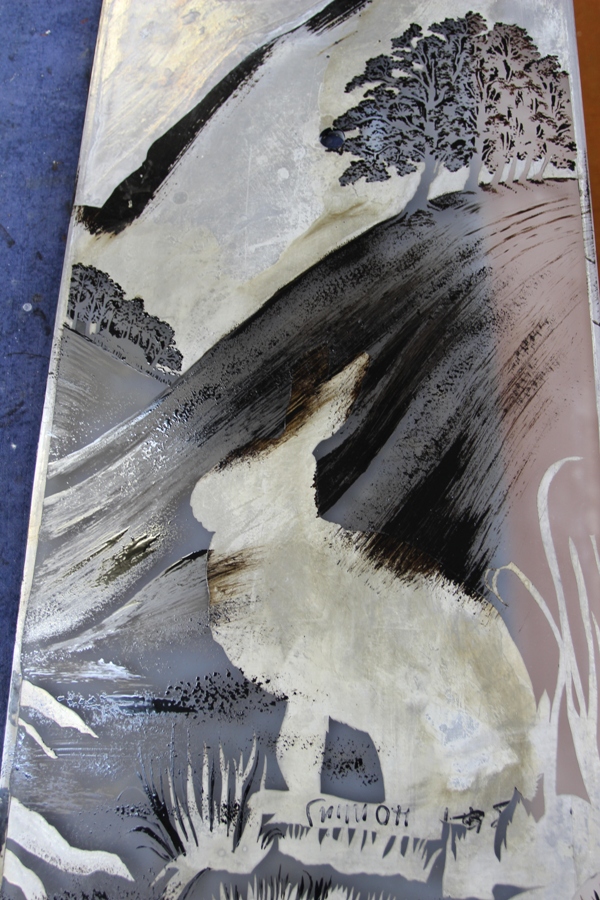 |
Both of these
images illustrate the use of embossing black painted
onto a glass surface which has already had a white acid
applied. The blacking preserves the white acid whilst
all other exposed areas will now have a further acid
treatment which will tone them back further. When the
blacking is cleaned off eventually the glass underneath
it will be white. Confused? .....!
We have now used a total of 6 acid processes on the
panels and are ready to begin the next stage –
introducing sand blast. |
|
 |
|
STAGE
6 |
|
 |
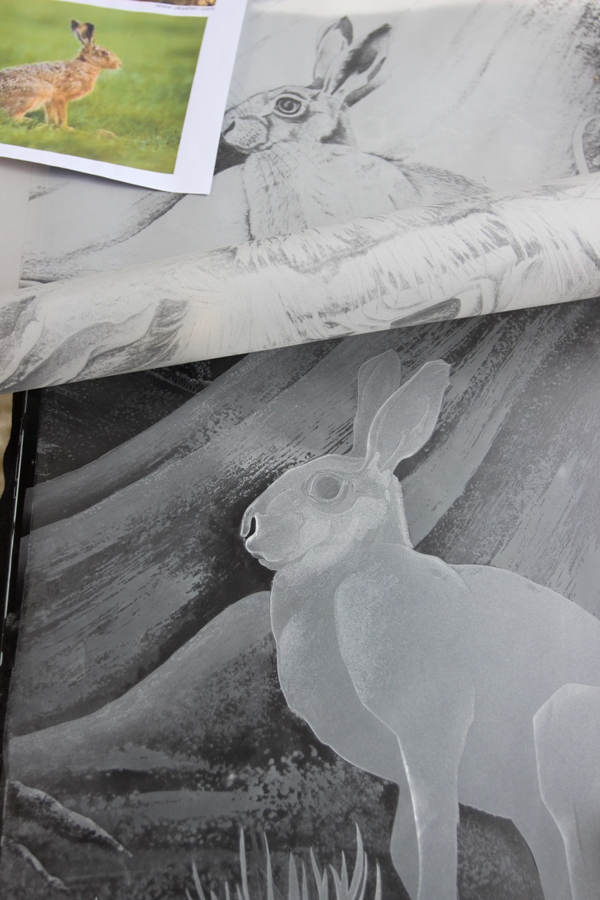
The panels are all
cleaned after the acid processes are complete and then
re-masked ( new tape applied ). The surface is then
rubbed over with a hard felt block which has a black wax
applied to it. The result is a little like a brass
rubbing and reveals the position of all the acid etched
surfaces. The next step is to draw in anything which
will be sand blasted. This image shows the hare drawn
onto the mask. I have to cut everything which is going
to be blasted very gently with a scalpel. These sections
are lifted out a little at a time beginning with the
areas which are to be most deeply blasted.
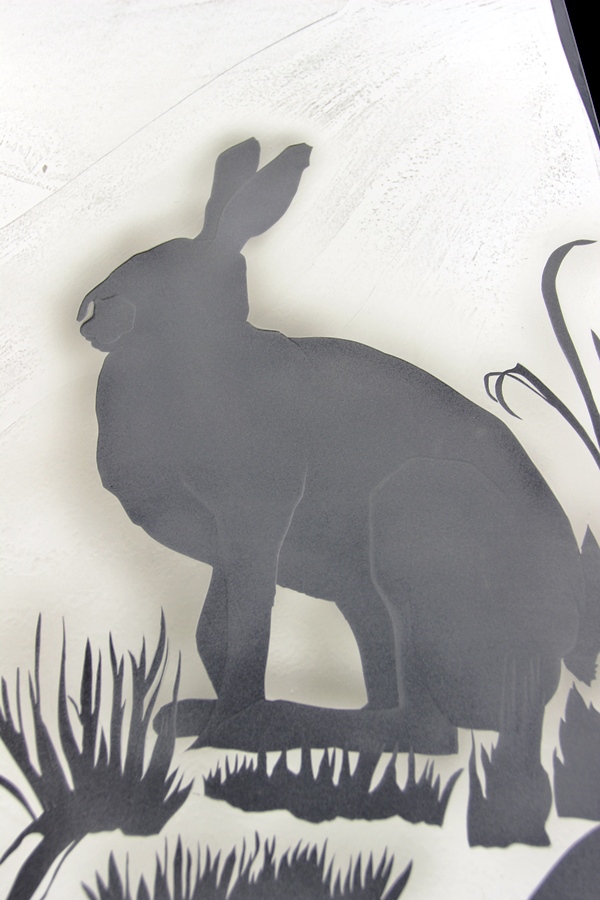
Below the hare and foreground grasses after blasting. If
you look carefully at the image it is possible to see
whiter areas particularly on the hip joint and the
foreleg. This is where the blasting is sculpted and
deeper to create a three dimensional illusion. |
|
 |
|
STAGE
7 |
|
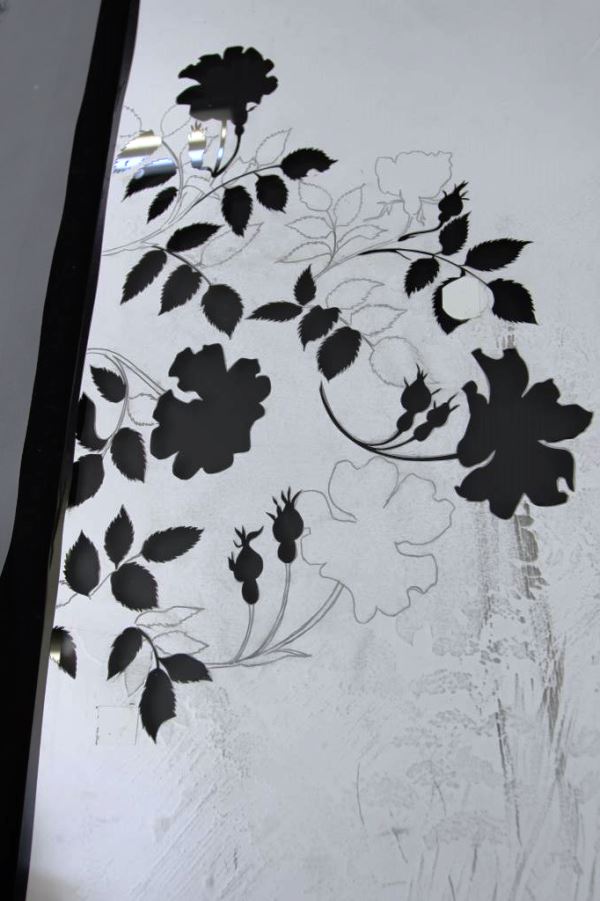 |
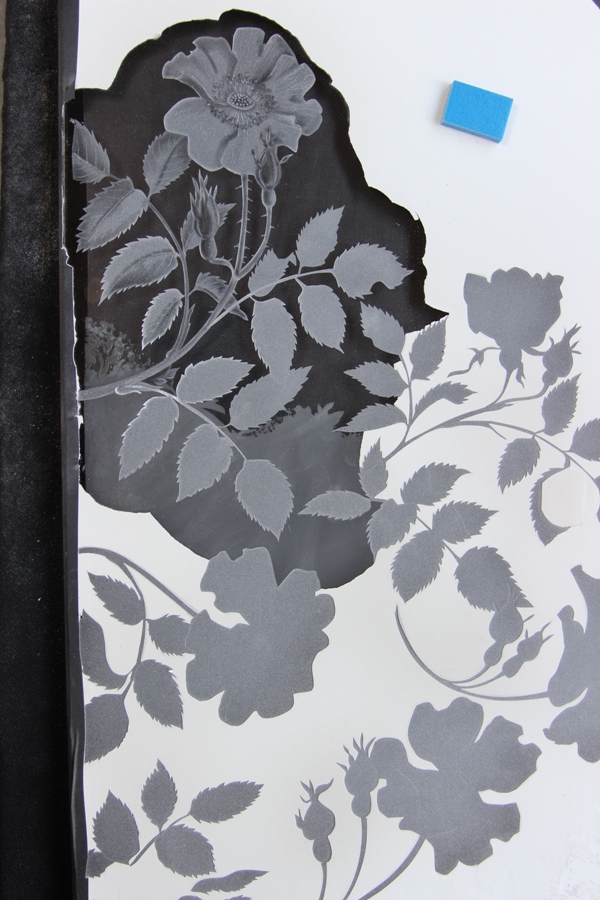
Above the dog
roses cut and some areas lifted for the first blast. The
pieces which are not yet lifted will get the second
lighter blast.
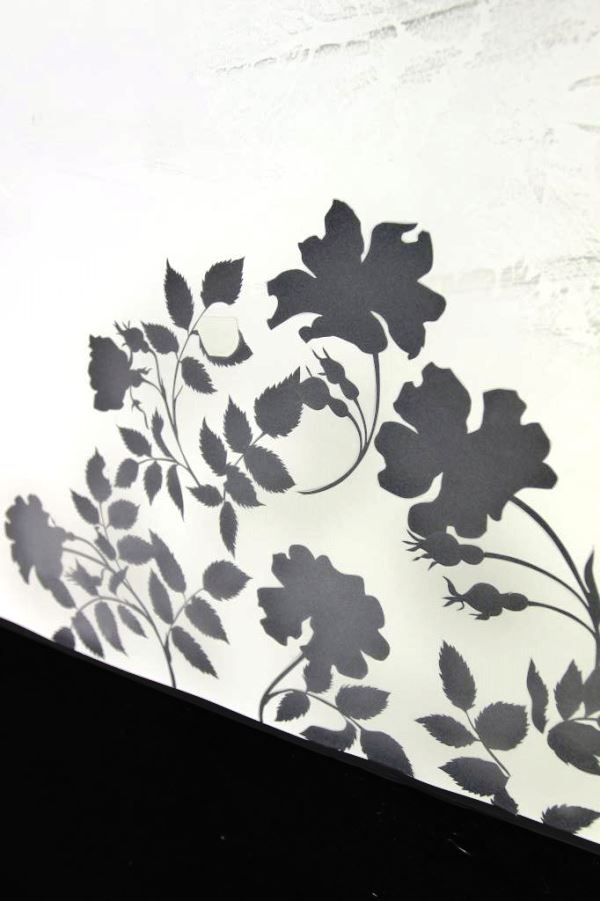
Below - Completed blasting in this section. If you look
closely you can see where one or two areas are sitting
in front of others...the second bud in from the left at
the bottom of the image is in front of the rose petal
for instance. This all becomes much more apparent when
the light shines through the glass. You may also be able
to make out the shadow of the trees and the landscape
created by the acid processes revealed by the wax
rubbing. |
|
 |
|
STAGE
8 |
|
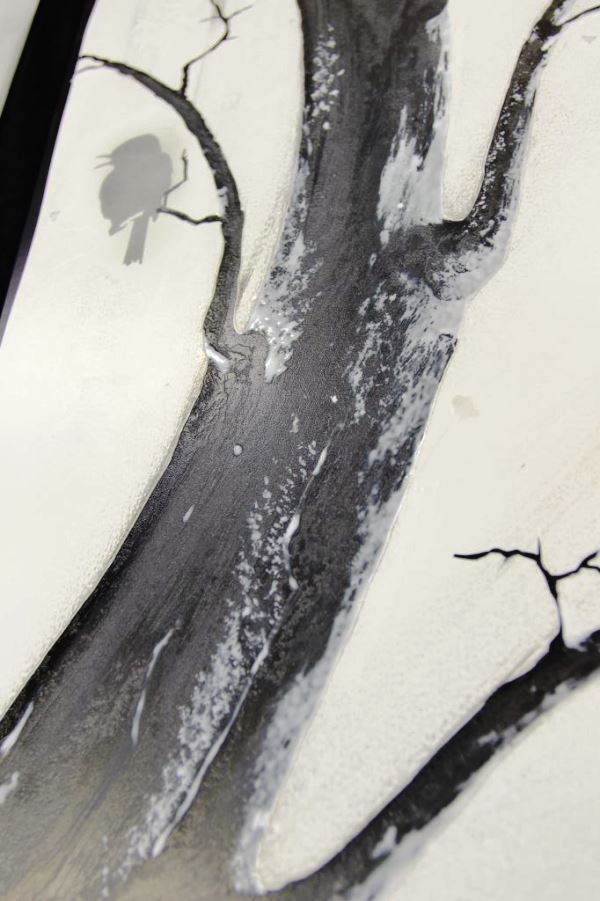 |
In some areas the
acid work is also cut, lifted and revealed so that I can
paint on a glue resist. When this is dry it protects
some areas of the acid whilst other parts are left open
and can be very lightly sandblasted to add yet more
texture. This is particularly useful for the tree bark,
and some sections of the landscape. In this image you
can see areas of the white glue not yet dried out. We
wait for it to become transparent before blasting.
Below in the sandblast cabinet. The end of the gun is
visible at the bottom left of the image. What you cannot
see is the grit coming from the end of it under light
pressure and very gently abrading the surface of the
tree. |
|
 |
|
STAGE
9 |
|
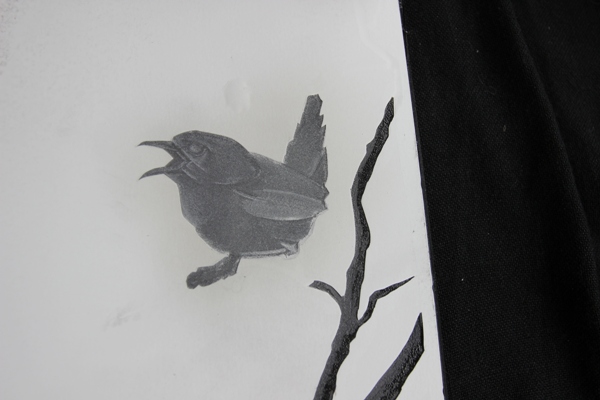 |
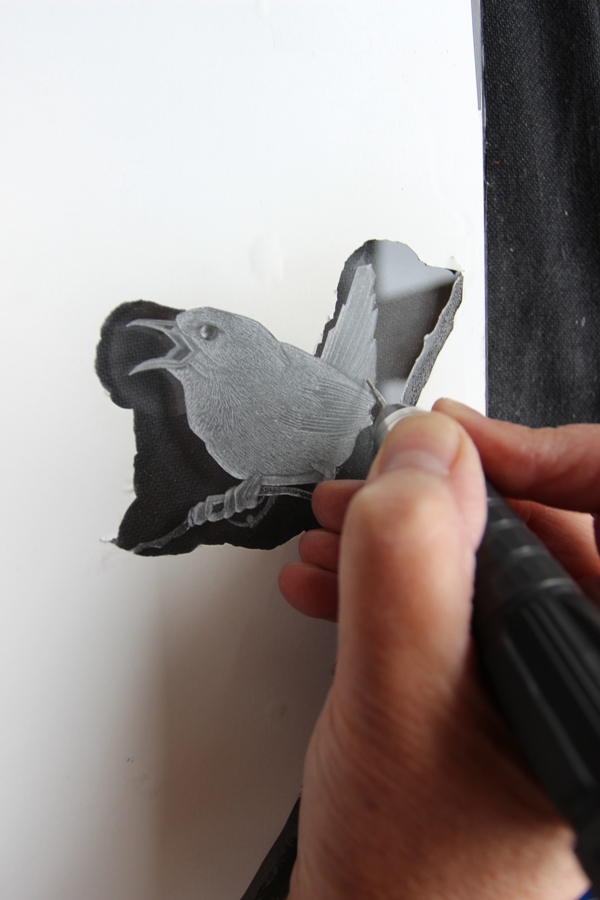
Above the wren
having previously been sand blasted has now had some
more features broadly added with the drill using
abrasive stones and large diamond burrs.
Below - Adding the finer details with much smaller
diamond burrs- this one is called a rats tail. I am
gradually building up the feather texture which adds to
the three-dimensional form. |
|
 |
|
STAGE
10 |
|
 |
The hare: working up the
modelling of the bone and muscle before adding details
of fur and whiskers. The modelling is achieved using
large abrasive stones and sintered diamonds.
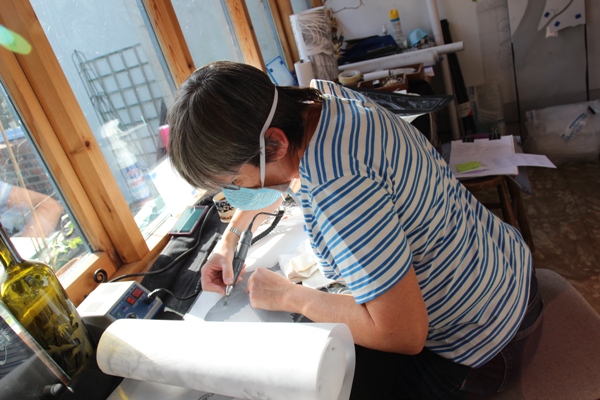
Below the artist working at a slightly awkward angle
modelling the facial features of the bird. |
|
 |
|
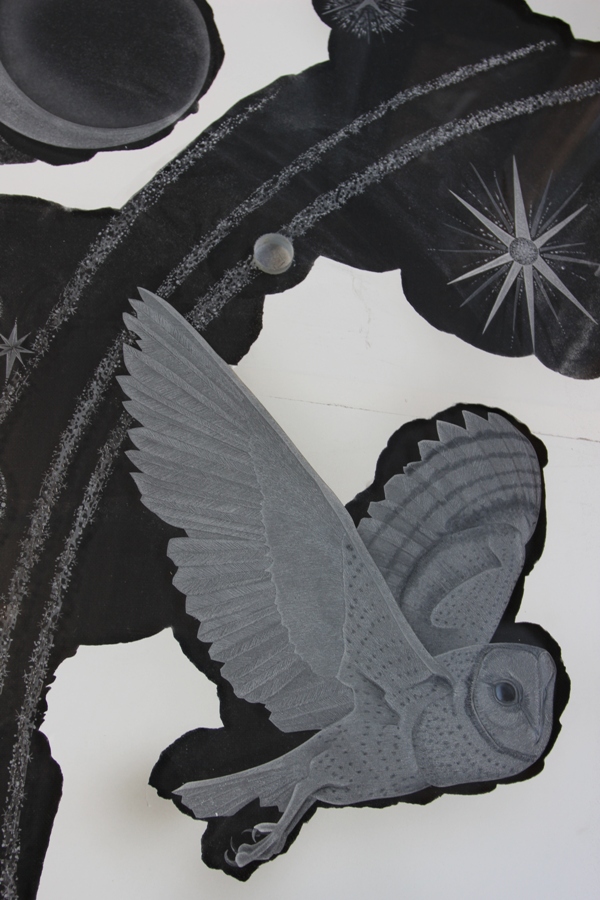
The Barn Owl: a little
further on...modelled and now with feathers added using
very small diamonds called rats-tails which look like
needles covered with fine diamond grit. The colour
variations and shadows are made using polishers which
smooth the surface of the glass to varying degrees
returning the transparency to the area polished and thus
creating tonal changes in the engraved surface. |
 |
|
Below the wild roses
beginning to emerge from the hedgerow. |
 |
|
|
 |
|
 |
|